


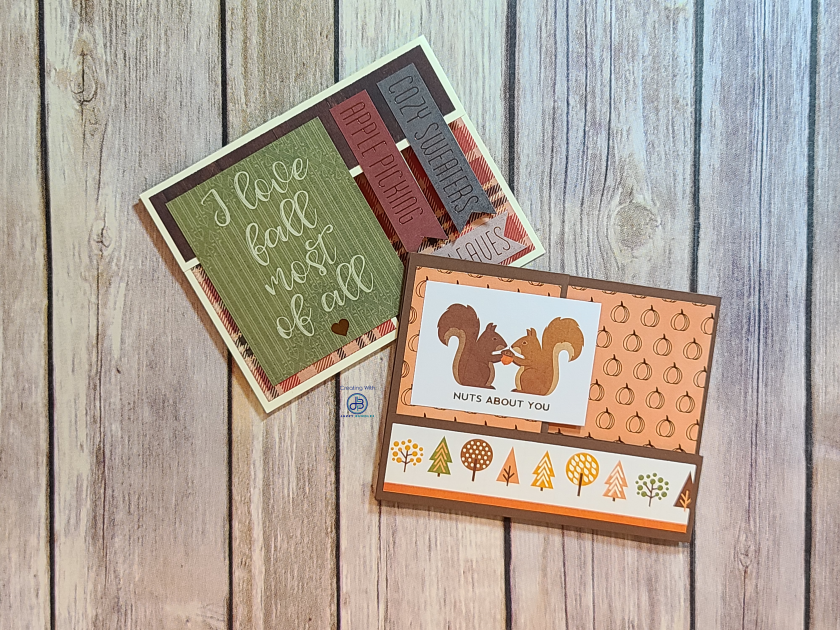
In this video, we’ll walk you through the steps for a unique fence card. Learn how to create beautiful handmade cards with our easy-to-follow instructions. This paper craft project is perfect for anyone looking for new card design ideas and how to make a card that truly impresses!
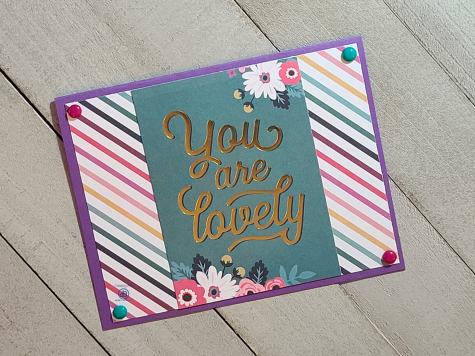
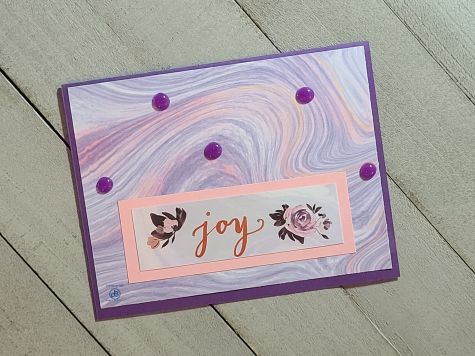
In this video, we’ll walk you through the steps for a unique Twisted Ribbon Card. Learn how to create beautiful handmade cards with our easy-to-follow instructions. This paper craft project is perfect for anyone looking for new card design ideas and how to make a card that truly impresses!

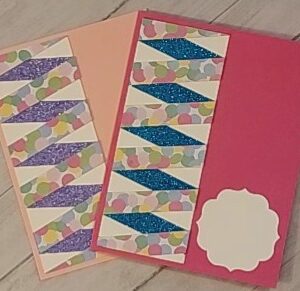
In this video, we’ll walk you through the steps for a unique double diagonal fold card. Learn how to create beautiful handmade cards with our easy-to-follow instructions. This paper craft project is perfect for anyone looking for new card design ideas and how to make a card that truly impresses!

Download PDF