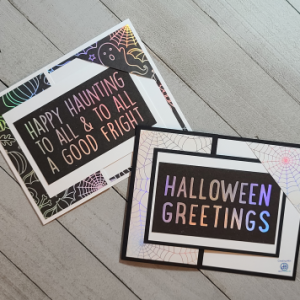
Supplies
- Cardstock
- Embossing folder
- Embossing Machine (Big Shot, Cuttlebug, Empress, any machine that accepts your embossing folder)
- Adhesive
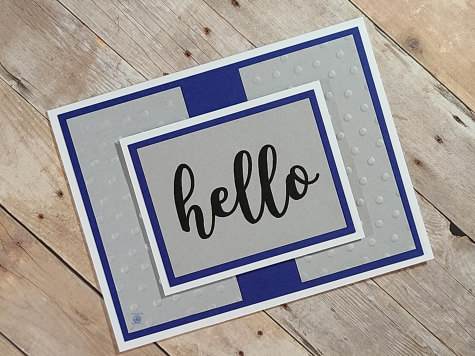
You are not going to believe how easy this card is! I have this embossing folder from Darice that is covered in dots. It’s so cute and versatile. It’s perfect for guys, gals, kids, adults, birthdays, holidays, thinking of you, or just because.
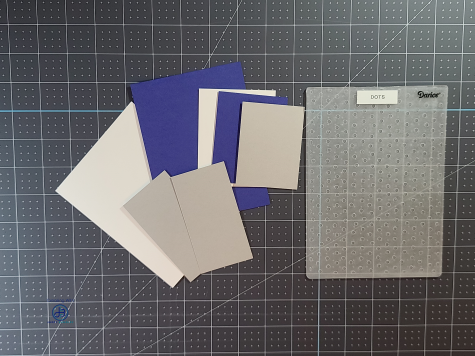
The first thing I did was pick out some cardstock. The beauty of this card is that it’s perfect when all you have is plain cardstock. You don’t even need to pull out all that patterned paper and stress about what works together and using up the last of your favorite piece that you might never ever find again (but is in the craft store every time you go for the last 2 years!!! Shhh, I won’t tell anyone!)
Next I decided which pieces of my card stock were going to be which layers and trimmed them down. The next big decision was which layers were going to be embossed. At first I thought I was going to emboss all 3 pieces of gray, so I ran them all through the machine. You will see later I changed my mind on one of them!
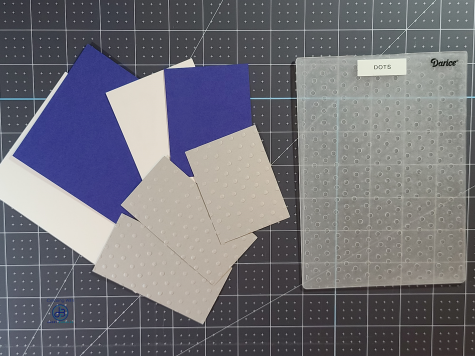
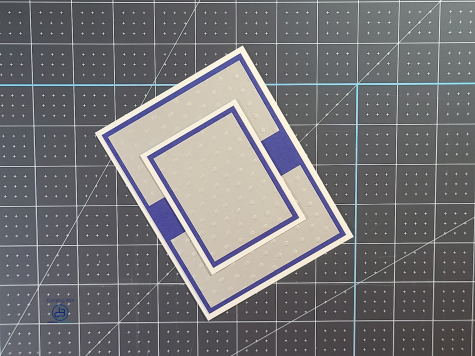
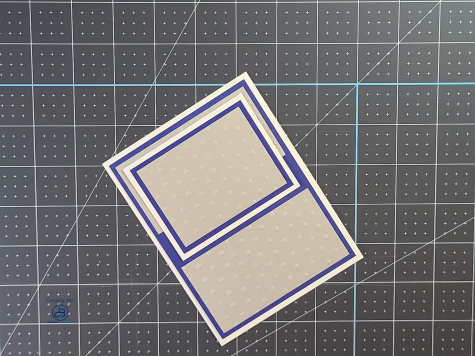
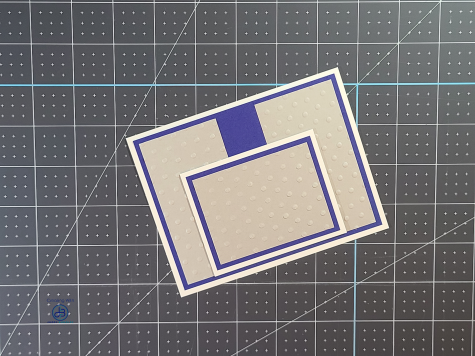
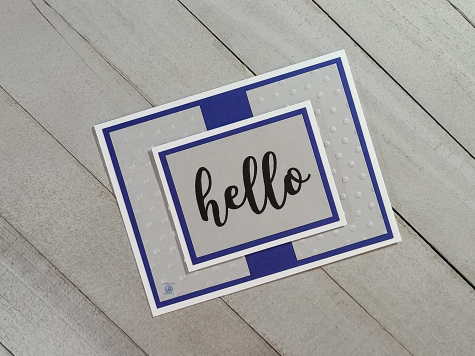
Now comes the hard part. How to arrange your layers. I played around with this a lot as I couldn’t decide the layout I wanted to use. Finally, I made a decision and went with it. In that decision I also decided to nix the top embossed layer and just stamp my image. I glued down the bottom 3 layers and then glued the top 3 layers together. From there I decided to use some foam tape between the sentiment and the background just to add a little extra to the card.
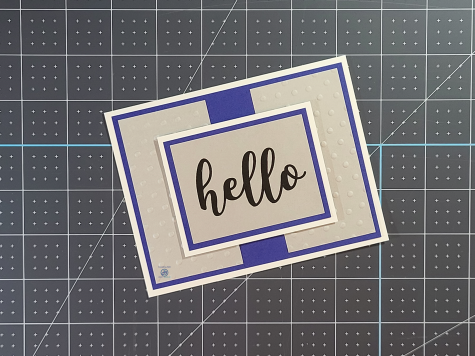
That’s it! It took be less than 15 minutes to put this card together from start to finish, and mostly because I couldn’t decide the layout I wanted to use. I hope you enjoyed the card. I’d love to see your cards. I hope you will join us on social media and share your crafts with us! Thanks for stopping by and I hope you come back again soon!
